|
|
|
 |
 |
Introduction to SRS
|
| |
This documentation assumes that you have a working knowledge
of computers including the operating system and the hardware. It also assumes
that you have access to an SRS server and an HTML 4.x or higher web browser. |
| 1.1 A
Quick Tour of SRS |
| |
To help you realize the potential of SRS the following guided
tour has been provided. It will demonstrate many of the features that SRS
is famous for such as querying, linking, creating and applying predefined
and custom views and saving queries in a systematic way.
Whenever an SRS concept or important topic is introduced a margin
note will be included that will tell you where to go for more information.
|
 SRS Sessions
- Chapter 2 SRS Sessions
- Chapter 2 |
|
-
We begin at the "Start" page. Ask your SRS administrator for the address
to your server. (Or try "http://srs6.ebi.ac.uk/".)
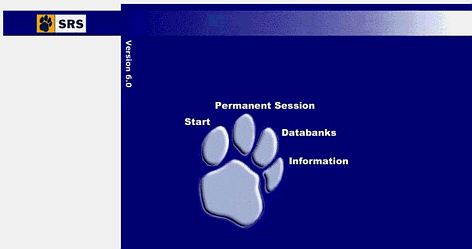
FIGURE 1. The Start Page.
|
 Querying
SRS - Chapter 3 Querying
SRS - Chapter 3 |
|
-
Click the "Start" link. This takes you to the "Top" page where you begin
working with SRS.
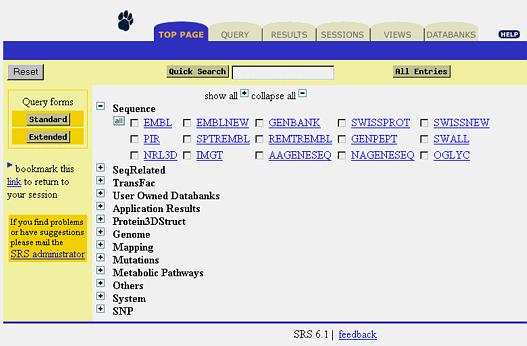
FIGURE 2. The "Top" page.
-
Choose the databanks that you want to search. Select the checkbox to the
left of the EMBL hyperlink.
|
|
|
-
Click the "Standard" button. This will bring up the Standard query form
for the EMBL databank.
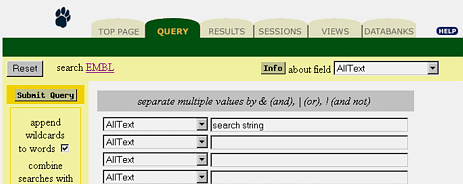
FIGURE 3. The Standard query form for the EMBL databank.
-
Enter the search phrase: Change the first drop-down data field to "Description"
and enter "ascorbate oxidase".

FIGURE 4. Search for a specific entry.
-
Click the "Submit Query" button. This will bring up the "Query Results"
page. If you want to look at the complete entry, click on the hyperlink.
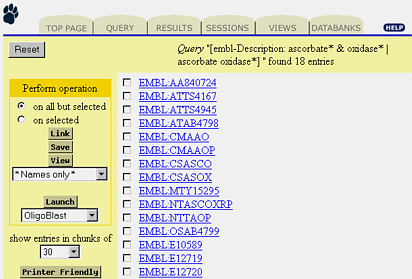
FIGURE 5. The results of the query.
|
 Linking -
Chapter 4 Linking -
Chapter 4 |
|
-
Click the "Link" button. This will bring up the "Linking" page.
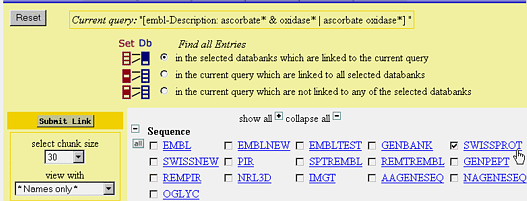
FIGURE 6. Set linking operation.
-
Link to SWISS-PROT: Select the checkbox to the left of the SWISSPROT hyperlink.
-
Click the "Submit Link" button. The results of the linking operation will
be a list of SWISS-PROT entries, displayed in the "Query Results" page,
that are related to the EMBL entries we started with.
|
 Views - Chapter
5 Views - Chapter
5 |
|
-
Click the "Views" tab to create a new view. This brings up the "View Manager"
page.
FIGURE 7. Create your own views (Steps 11,12,13, 14).
-
In the "View name" textbox type "myTestView".
-
In the "Select databanks to define view for" menu select EMBL.
-
In the "Select databanks to be linked to displayed entries" select SWISSPROT.
-
Click the "Create New View" button. This brings up the "Data Field Selection"
page.
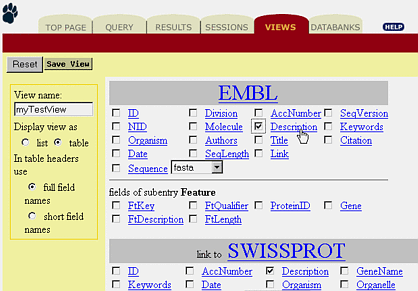
FIGURE 8. Select the "Description" fields for both databanks.
-
Choose the data fields that you want displayed when the view is applied
to an entry or list of entries.
-
Select the "Description" field for both databanks.
-
Click the "Save View" button.
-
The new view is available with EMBL entries.
-
Click the "Results" tab. This brings up the "Results List" page. See figure
9.
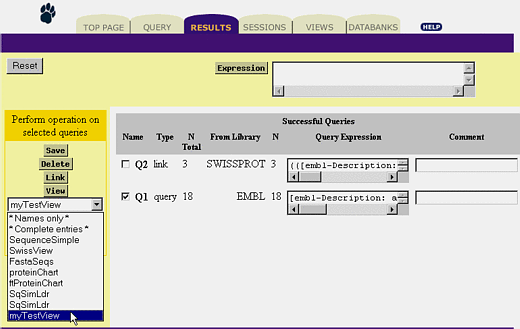
FIGURE 9. View with your own view (Steps 17, 18, 19).
-
Click the checkbox to the left of the "Q1" list item to select it.
-
Change the view option to "myTestView". Click the drop-down menu below
the "View" button and scroll through until you find the view you want.
-
Click the "View" button. This will display the query with the "myTestView"
view.
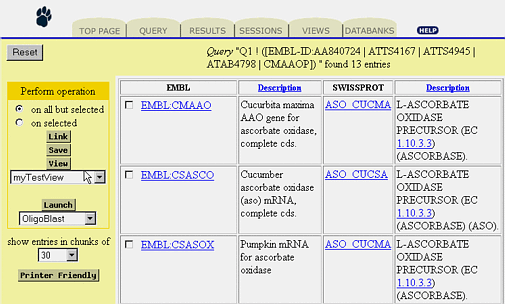
FIGURE 10. The view shows linked entries.
-
Click the "Results" tab to go back to the "Results" page.
-
Select "Q2".
-
Click "View". The default view "Names only" will be fine.
|
 Applications
- Chapter 6 Applications
- Chapter 6 |
|
-
Click the drop-down menu below the "Launch" button. The drop-down menu
shows all the available applications that are valid for the current entries.
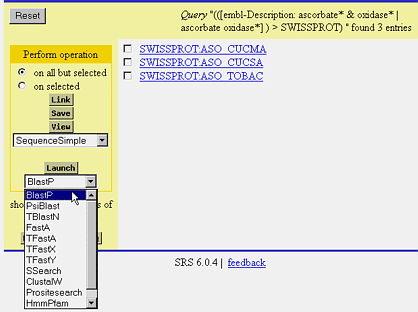
FIGURE 11. Select the application (Steps 23, 24, 25).
-
Select "BlastP".
-
Click the "Launch" button. This will bring up the "Application Launch"
page.
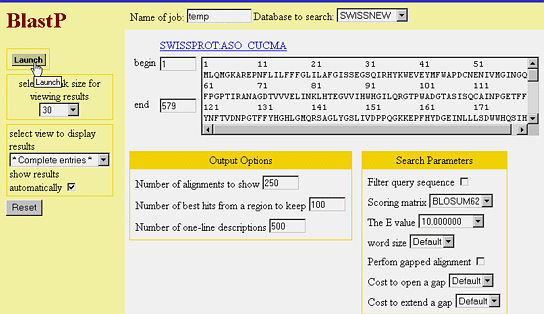
FIGURE 12. Default settings for "Application Launch" page.
-
Click the "Launch" button. The application will run and the "Application
Invocation" page will be displayed.
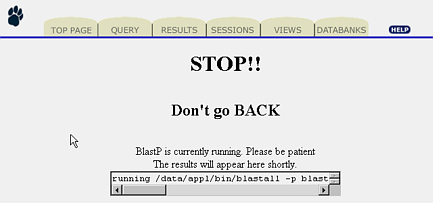
FIGURE 13. The Application is running.
When the "Application Invocation" page finishes loading the results will
be displayed automatically. See figure 14.
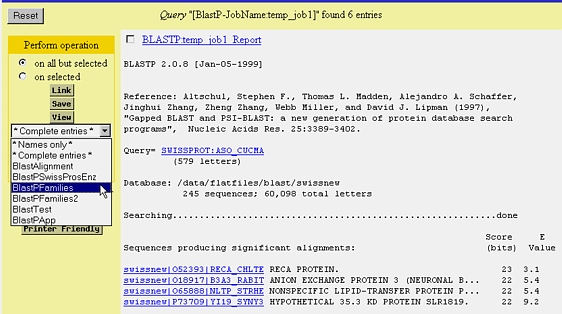
FIGURE 14. Application Results.
-
Select the drop-down menu below the "View" button.
-
Select the "BlastPFamilies" view.
-
Click "View". This displays the results of the application using the "BlastPFamilies"
views. See figure 15.
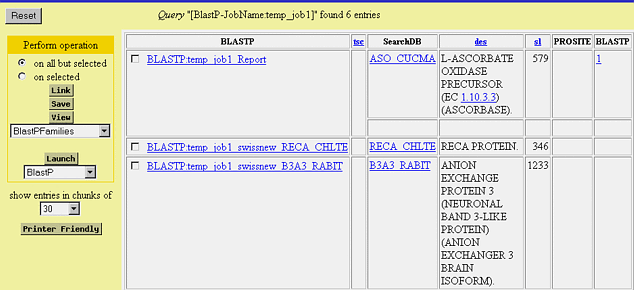
FIGURE 15. One of the Pre-packaged SRS Views.
|
 Saving Queries Saving Queries
Chapter 2 "SRS Sessions". |
|
-
Click the "Results" tab.
-
This brings up the "Results" page where you can pick the queries to save.
-
Select the queries to save.
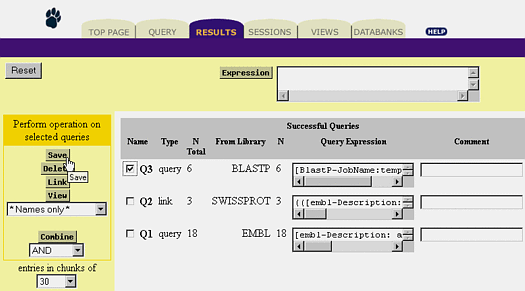
FIGURE 16. Saving a Query.
-
Click the "Save" button.
-
This brings up the "Download Options" page.
-
Choose the options you want.
-
Use the "Download Options" page to specify the way the output should look
and to pick a format for the output file.
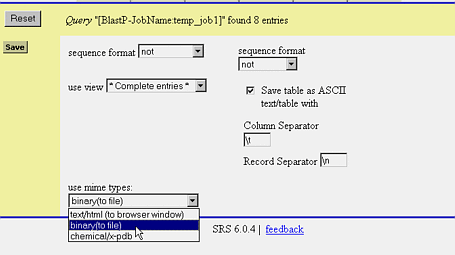
FIGURE 17. Set the Download Options.
-
Click the "Save" button.
-
The browsers "File Download" dialog (figure 18) appears.
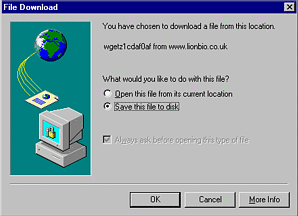
FIGURE 18. The "File Download" Dialog.
-
Click the "Ok" button.
-
This will bring up the "Save As" dialog.
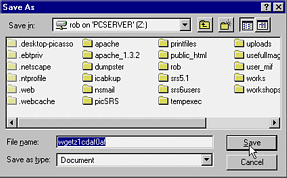
FIGURE 19. Set the Save location.
-
Click the "Save" button.
-
The file will be saved to the location you specified.
That's it! Now you have seen most of SRS and are ready to start using it
at work. Well, almost. There are other tutorials in this manual so take
a few hours, read the manual and you will have fewer problems in the future. |
 |